
Brand asset fabrication is the deliberate process of designing and producing physical elements that visually embody a brand's identity at events and activations. Done right, it transforms a booth or venue into an experience people remember long after they leave. Done wrong, it produces expensive props that look great in renderings and fall flat in real life. Knowing how to fabricate brand assets correctly means understanding design, materials, production methods, and logistics as one connected system. This guide walks you through every stage, from the first file to the final strike.
What prerequisites do you need before fabricating brand assets?
Fabrication starts long before anyone touches a CNC machine or a sheet of foam. The groundwork you lay in the design phase determines whether your physical assets match your brand vision or drift away from it.
Design files and technical specifications are the foundation. You need production-ready vector files, accurate CAD drawings, and fully dimensioned 3D digital mockups before any physical work begins. 3D mockup approval is a mandatory step that locks in technical consistency and prevents costly rework mid-production. Never send a fabricator a low-resolution logo and expect a polished result.
Material selection shapes every downstream decision. Your choice of substrate affects weight, durability, shipping cost, and how the finished piece reads under event lighting. Key material considerations include:
- EPS foam with coatings: Lightweight and highly moldable, ideal for large sculptural props and oversized brand marks.
- Plywood and MDF: Durable and paintable, but heavier materials like plywood can double shipping costs for traveling assets compared to CNC-machined foam.
- Aluminum and steel: Best for structural frames and permanent or semi-permanent installations.
- Fabric and tension systems: Excellent for large graphic surfaces, backdrops, and modular walls that pack flat.
Fabrication technology determines what shapes and finishes are achievable. CNC machining delivers precise, repeatable cuts across wood, foam, and composite panels. 3D printing works well for detailed props and branded objects at smaller scales. Foam carving produces large-format sculptural pieces at a fraction of the weight of traditional materials.
Pro Tip: Get written sign-off on your 3D mockup and a physical material sample before committing to full production. This single step eliminates the most common source of quality drift between what you approved on screen and what arrives on-site.
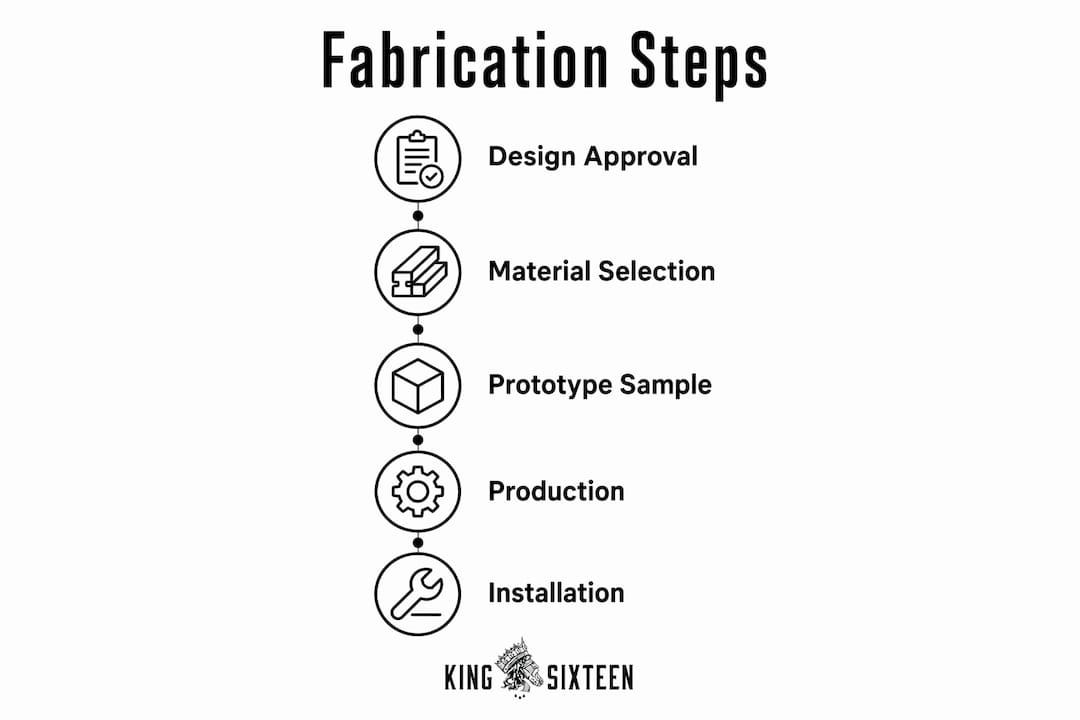
| Prerequisite | Why It Matters |
|---|---|
| Production-ready vector files | Prevents resolution loss and distortion in large-format output |
| Approved 3D digital mockup | Locks in dimensions and appearance before machining begins |
| Material specification sheet | Aligns weight, finish, and cost with campaign logistics |
| Fabrication technology brief | Matches production method to design complexity and budget |
| Signed approval documentation | Creates accountability and reduces mid-production changes |
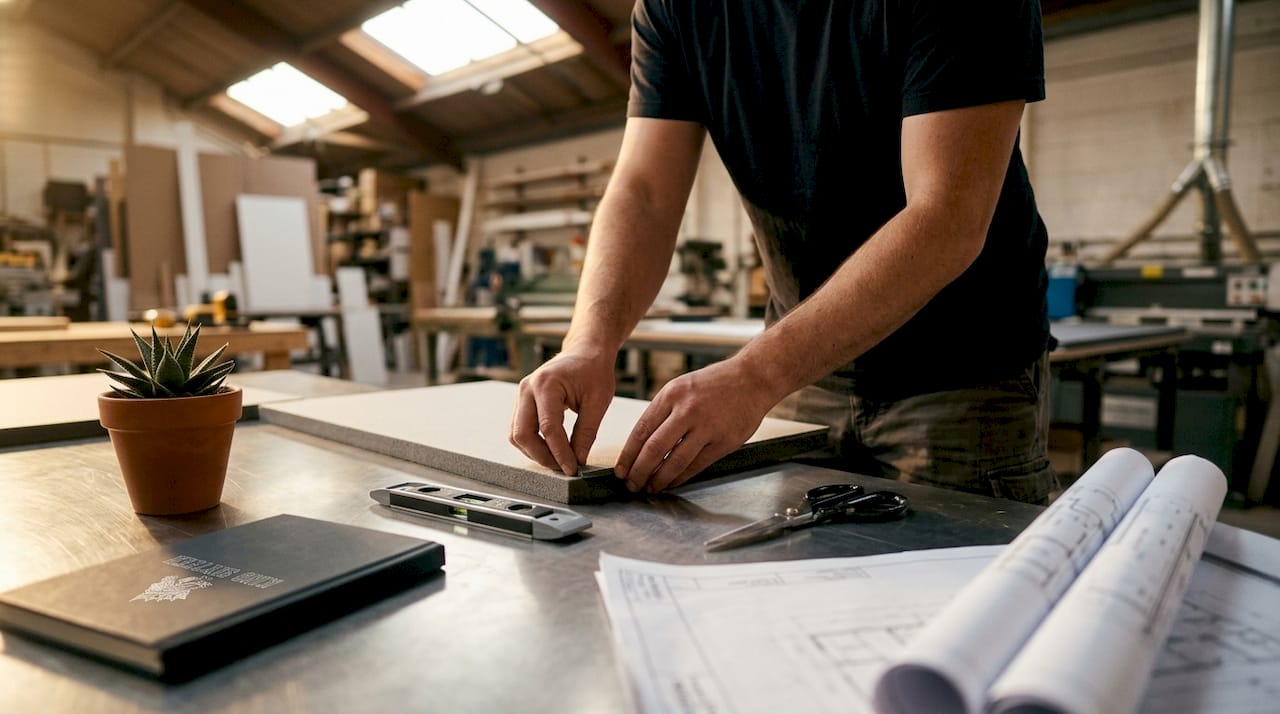
How do you execute the step-by-step fabrication process?
A successful fabrication project integrates design, manufacturing, logistics, and installation as one continuum owned by a single team. Splitting these responsibilities across disconnected vendors is the fastest way to lose quality control.
-
Concept design and 3D mockup. Start with a detailed brief that captures brand standards, dimensions, venue constraints, and intended use. Build 3D digital mockups that show the asset in context, not just in isolation. Present these to all stakeholders and collect formal written approval before moving forward.
-
Material procurement. Source materials against your approved spec sheet. Confirm lead times early. Supply chain delays are the most common reason fabrication projects miss event deadlines, and they are almost always preventable with a four to six week buffer built into the schedule.
-
Fabrication. Execute production using the methods matched to your design: CNC machining for flat panels and precise cuts, foam carving for sculptural elements, and 3D printing for detailed branded objects. Apply coatings, paints, and laminates in controlled conditions to maintain color accuracy against your brand standards.
-
Environmental graphics and finishing. Install printed graphics, vinyl wraps, and surface treatments after the structural fabrication is complete. This is where your brand's color palette, typography, and imagery come to life on the physical form. Align every graphic element against your approved mockup before signing off.
-
Modular build planning. Design assets to break down into panels or sections that ship flat and assemble on-site without specialized tools. Reusable modular builds are the industry standard for national campaign rollouts because they allow redeployment across multiple markets without a full rebuild, which significantly lowers per-event costs after the initial investment.
-
Logistics and shipping. Crate and label every component with assembly instructions. Assign a logistics lead who owns the chain of custody from the fabrication shop to the venue. Confirm venue access windows, freight elevator dimensions, and load-in schedules before assets leave the shop.
-
On-site installation and strike. Install against a pre-approved floor plan with a qualified crew. Document the installed state with photos. Plan your strike procedure before the event opens, not after it closes. Planning for asset dismantling and storage in the earliest design phases avoids a significant share of unexpected project expenditures later.
Pro Tip: Build a photo-documented assembly guide during your first install. Your crew at the second market will thank you, and your quality will stay consistent across every stop on the tour.
What design strategies boost brand recognition in physical assets?
Physical brand assets must be distinctive and optimized for instant brand recognition, prioritizing uniqueness over fame. A recognizable shape or color combination does more work than a complex message that requires reading. Design for the two-second glance, not the five-minute study.
"Unique physical brand assets must trigger instant, effortless recall by creating sensory anchors and contextual reinforcers. Uniqueness must be engineered into the physical design from the outset to drive brand association, not added as an afterthought."
The most effective branded environments treat the entire space as a takeover. Successful branded environments transform floors, signage, and props into a cohesive system rather than a collection of separate pieces. When every surface speaks the same visual language, the brand becomes the environment. That is a fundamentally different outcome than placing a logo on a backdrop.
Practical design strategies that drive recognition include:
- Sensory anchors: Use a signature color, shape, or texture that appears consistently across every touchpoint in the space. Porsche's use of its iconic silhouette as a structural form, not just a graphic, is a strong real-world model.
- Contextual reinforcers: Place brand elements where attendees naturally look: at eye level, at entry points, and at the moments of highest engagement like product interaction zones.
- Visual storytelling alignment: Design assets that amplify brand messaging through form and material, not just printed graphics. A brand that stands for precision should have assets with clean lines and tight tolerances.
- Living style guides: A live digital style guide that is interactive and accessible ensures every fabricator, installer, and vendor applies brand standards consistently across every touchpoint and campaign.
Consistency is not a creative limitation. It is the mechanism by which physical assets build cumulative brand recognition across multiple events and markets. Every deviation from your visual system costs you recall.
What common challenges arise in brand asset fabrication?
Even well-planned fabrication projects hit friction. Knowing where problems typically emerge lets you build solutions into the process before they become crises.
Quality drift is the gap between what your rendering shows and what arrives on-site. Physical samples provided for client review before full production minimize this risk. Manufacturers who run a multi-stage quality control process involving both digital and physical proofing maintain the highest fidelity between approved design and finished product.
Weight and shipping costs catch teams off-guard on multi-city campaigns. CNC-machined EPS foam with special coatings reduces logistics overhead significantly compared to plywood-based builds. The material decision you make in week one directly determines your shipping invoice in week eight.
Approval bottlenecks slow production and compress fabrication timelines. Establish a single decision-maker on the client side for fabrication approvals. Routing sign-off through multiple stakeholders without a clear owner is the most common cause of missed deadlines.
Strike and post-event costs are frequently underestimated. An early strike plan that covers dismantling, transport, or recycling avoids unexpected costs that can add significantly to project budgets. Build your strike procedure into the original project scope, not as an afterthought.
Modularity gaps create problems when assets designed for one venue do not fit another. Asset modularity and reuse should be designed into the original fabrication plan to allow tool-free graphic swaps and no structural rebuilds across multiple event locations. If your campaign covers more than one market, modular design is not optional.
For a deeper look at how these principles apply to full event environments, the guide on branding event spaces covers the spatial strategy that makes physical assets land harder.
Key Takeaways
Fabricating physical brand assets that perform at events requires integrating design, material selection, modular planning, and logistics into a single coordinated process from day one.
| Point | Details |
|---|---|
| Lock in 3D mockup approval first | Formal sign-off before machining prevents the most costly mid-production changes. |
| Choose materials for logistics, not just aesthetics | Lightweight foam builds cut shipping costs significantly versus plywood on multi-market tours. |
| Design for modularity from the start | Tool-free graphic swaps and flat-pack panels allow redeployment without a full rebuild. |
| Treat the space as a takeover | Cohesive floor-to-ceiling brand environments outperform collections of individual branded props. |
| Plan your strike before the event opens | Early dismantling plans prevent post-event costs from inflating total project budgets. |
What I've learned from fabricating assets for high-stakes activations
The most expensive mistake I see marketing teams make is treating fabrication as a production task rather than a design discipline. They finalize the creative, hand it to a fabricator, and assume the physical output will match the vision. It almost never does without active oversight at every stage.
The projects that land hardest share one characteristic: the design team and the fabrication team are in constant communication from the first concept sketch. When a designer understands what CNC machining can and cannot do, they stop designing assets that are beautiful on screen and impossible to build on budget. When a fabricator understands the brand's visual standards, they flag problems before they become finished pieces.
Modularity is the other lesson that took me longer to internalize than it should have. The instinct is to build the most impressive version of an asset for the first event and figure out the next market later. That approach costs you twice: once in the rebuild and again in the missed opportunity to refine the design based on real-world performance. Build modular from day one, even if the first activation is a single-city launch.
The brands that get the most out of physical fabrication treat their assets like a product line, not a one-time project. They invest in reusable systems, maintain living style guides, and track how assets perform across markets. That mindset is what separates a great activation from a great brand.
For more on building the kind of impactful brand activations that make physical assets work harder, the step-by-step activation guide is worth your time.
— Tyler
Kingsixteen builds the physical brand presence your events demand
Kingsixteen designs and fabricates custom physical brand assets for marketing teams that need their events to perform, not just look good. From large-scale sculptural installations to modular branded environments that travel across national campaigns, the team handles concept, production, logistics, and installation as a single integrated process.
Brands like Porsche, Audi, Ray-Ban, and Fossil have trusted Kingsixteen to build the physical presence that makes their activations unforgettable. If you are planning a product launch, brand activation, or multi-market campaign and need fabricated assets that hold up under real event conditions, explore Kingsixteen's experiential marketing services to see how the team approaches custom brand asset creation from brief to build.
FAQ
What are brand assets in the context of events?
Brand assets are the physical and visual elements that represent a brand at an event, including installations, displays, signage, props, and environmental graphics. They work together to create a cohesive brand presence that attendees experience in person.
How do you fabricate brand assets for multiple markets?
Design assets as modular systems from the start, using flat-pack panels and tool-free graphic swaps that allow redeployment across locations without a structural rebuild. Reusable modular builds are the industry standard for national campaign rollouts because they lower per-event costs significantly after the initial build.
What is the biggest risk in brand asset fabrication?
Quality drift between the approved digital rendering and the finished physical asset is the most common risk. Requesting physical material samples before full production begins is the most reliable way to catch and correct this gap early.
How far in advance should you start fabricating brand assets?
Most custom fabrication projects require a minimum of six to ten weeks from approved design to on-site installation, accounting for material procurement, production, quality review, and shipping. Complex or multi-component builds need more lead time.
Why does material choice matter so much in fabrication?
Material selection directly affects shipping cost, installation complexity, and how assets read under event lighting. CNC-machined EPS foam with coatings is significantly lighter than plywood, which reduces logistics costs on traveling campaigns and makes on-site installation faster.